You may also like…
Tradeshow
Large Format
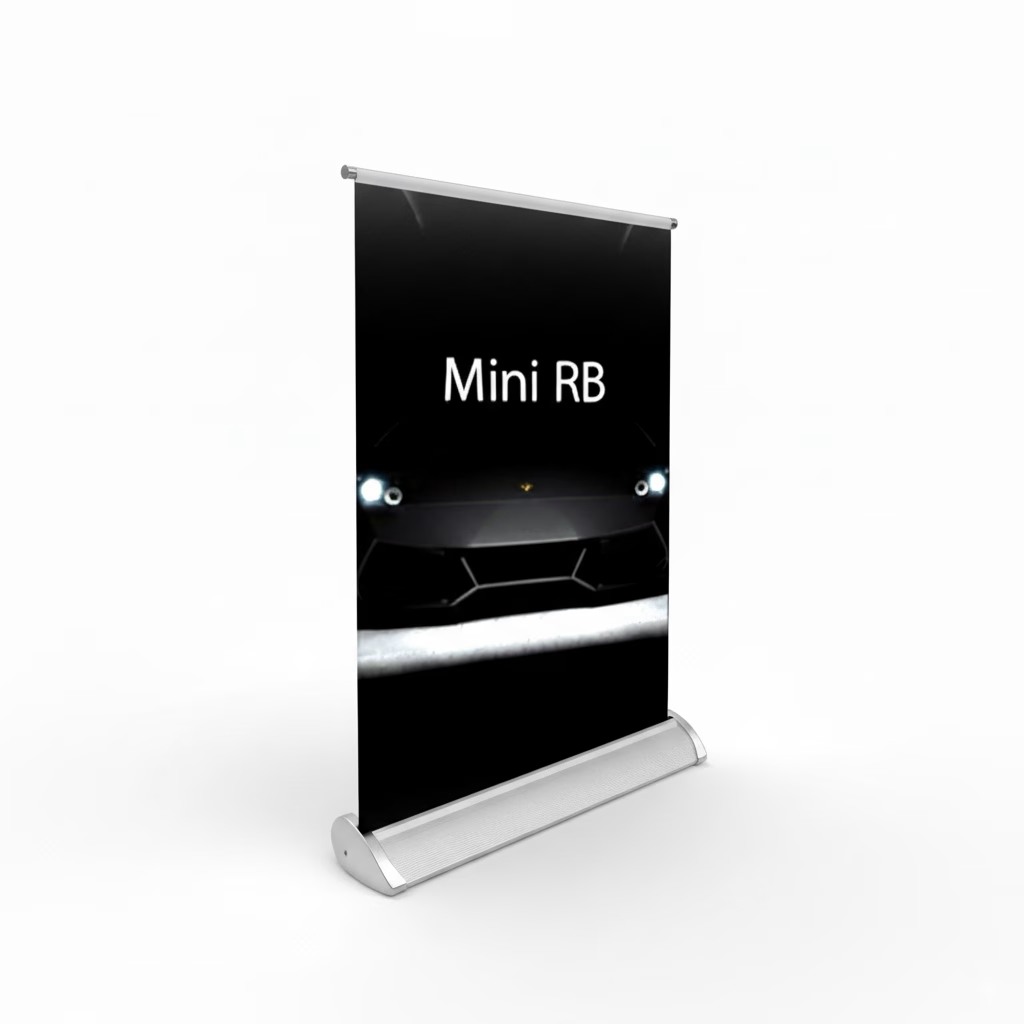
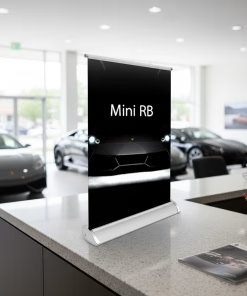
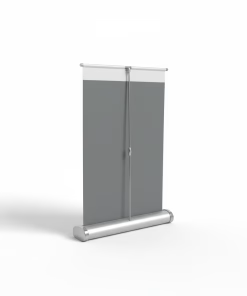
Mini Retractable Banner
Mini Retractable Banner / Table Top Retractable Banner
- Display Graphic Size: 11.25″x17″
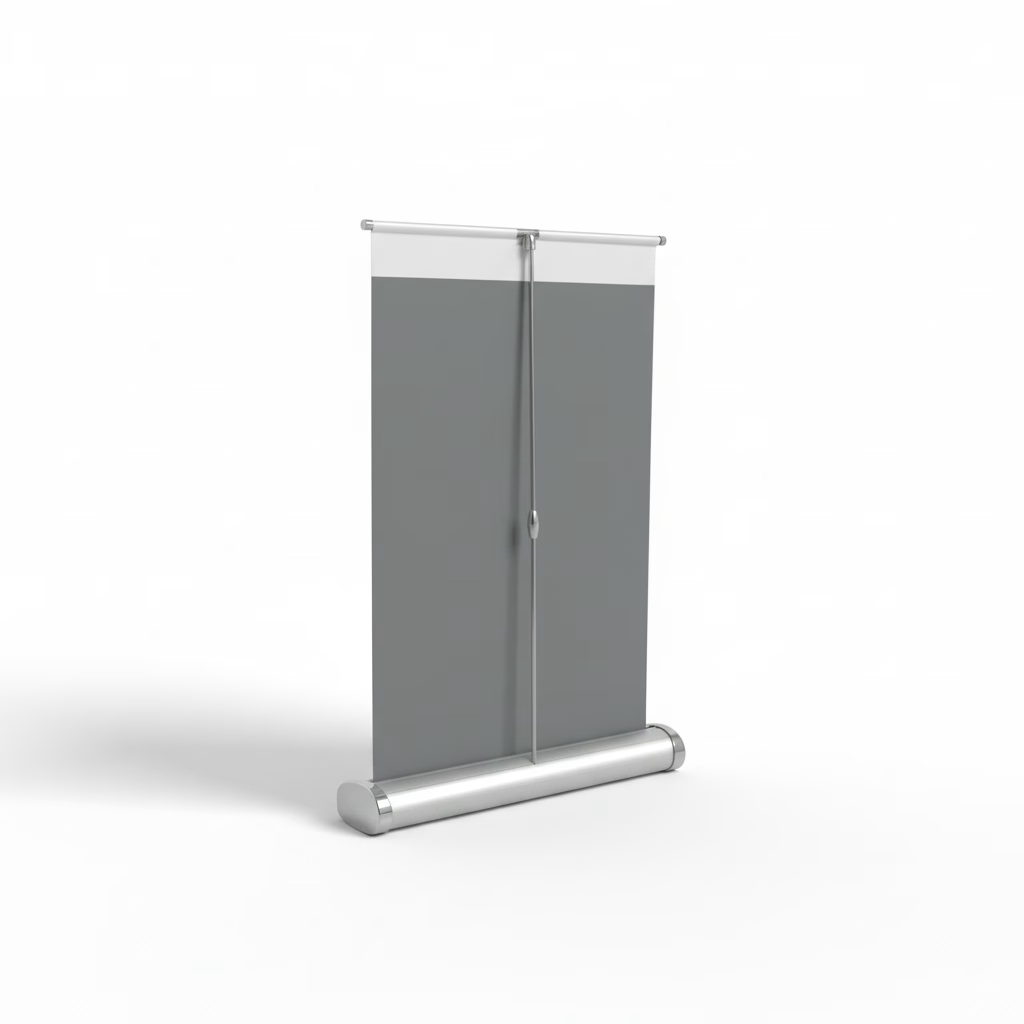
- Non-curl block out grey back material
- Single-Sided
- Tabletop system
- Compact and Portable
- Matte silver finish
- Setup printing file size: 11.25″ (w) x 17″ (h)
Description
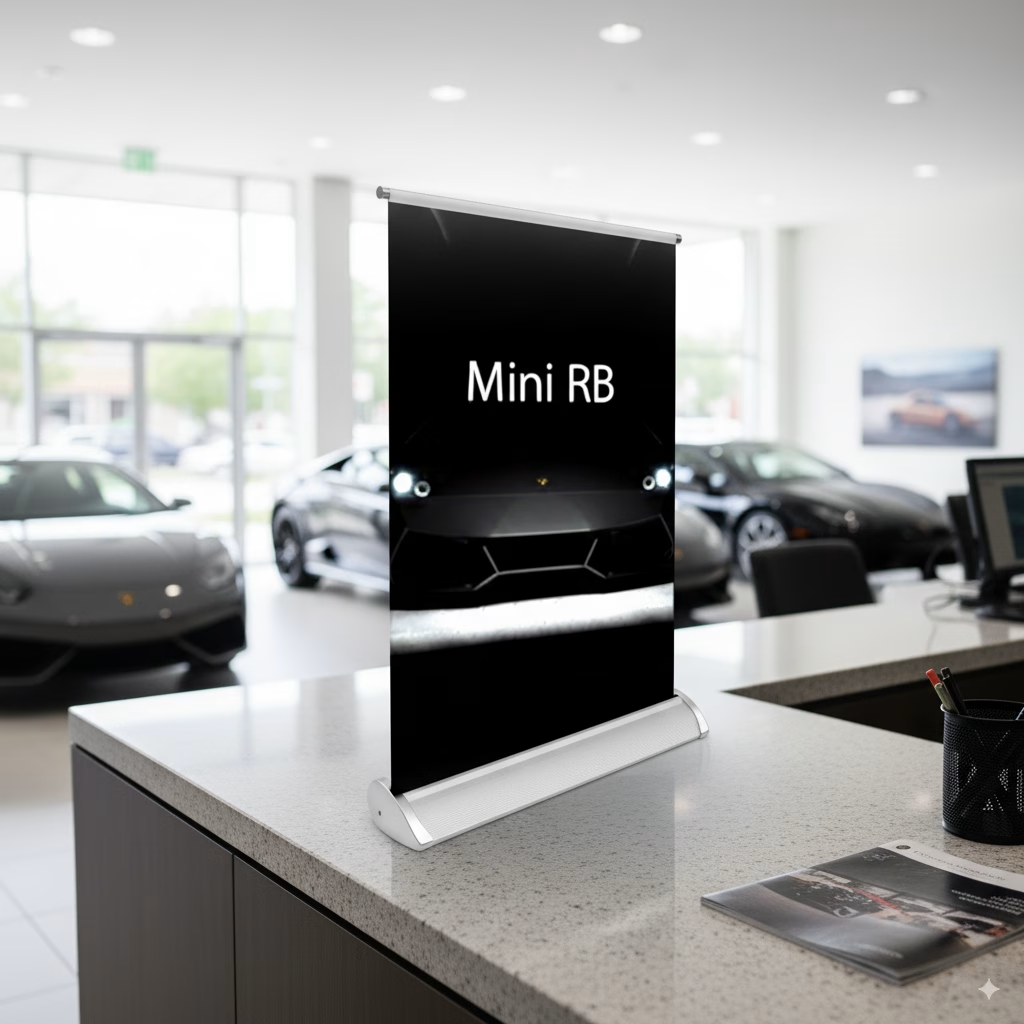
Mini retractable banner stands can be a great addition to any display. They are perfect for exhibits or events with limited space, as they take up very little room and can be easily placed on a tabletop or other small surface. They are also great for adding extra information or branding to your display, without taking up too much space.
Mini retractable banner stands are also very versatile, as they can be used in a variety of settings, including trade shows, conferences, retail spaces, and more. They are lightweight and easy to transport, making them ideal for businesses and organizations that attend multiple events throughout the year.
Overall, a mini retractable banner stand can be a valuable addition to any display, providing an extra element of visual interest and helping to draw attention to your brand or message.
Additional information
| Weight | 1.25 lbs |
|---|---|
| Dimensions | 12.25 × 3 × 1.25 in |
FAQs
We need 1 to 2 days for most location within GTA, and 2 to 3 days outside GTA. For locations outside Ontario, it might take over a week. Choose EXPRESS shipping if you want the order faster.
We use UPS, Purolator or some other couriers to deliver the orders.
Normal production turnaround is 2 to 4 business days, depending on the order quantity. We do offer NEXT DAY turnaround for most of our products if you need them rush.
- Account for Cutting Inaccuracies:
Paper can shift slightly during the printing and trimming process. The bleed provides extra space so that even if the cut isn't perfectly aligned, there's still enough ink or color to the edge, preventing a white border from showing.
- Achieve Edge-to-Edge Design:
If you want a background color or image to flow perfectly to the edge of your finished product (like a business card or poster), bleed is essential.
- Professional Appearance:
A white border resulting from a lack of bleed can look unprofessional and distract from the design.
- Design Extension:
The design file is created with artwork that extends beyond the intended final size of the document.
- Printing:
The print job is then printed on a sheet of paper larger than the final required size.
- Trimming:
After printing, the printer uses crop marks (guides) to trim off the excess paper, which includes the bleed area.
- A common industry standard for bleed is 1/8 of an inch (approximately 3mm) on each side of the document.
- However, this can vary, so it's always best to check the specific specifications with your printer.
- Business Cards: To achieve a full-color, edge-to-edge look.
- Brochures and Postcards: For background images or colors that need to extend to the edge.
- Photo Prints: When the photo needs to be printed without any borders.
- If your printed product naturally has a white border or margin around its content, it does not need a bleed.
CMYK mode is the best to setup your print files. RGB is for website design. There will be color shift for some colors if we send your RGB files to print.
To get a proper blue that does not print purple, the Magenta has to be less than or equal to the (Cyan value by 30%) The reverse is true if you want to print purple.
LARGE AREAS OF BLACK: Rich black ( 20% Cyan, 20% Magenta, 20% Yellow, 100% Black ) should be used for large areas of black and will give a deep solid black finish.
SMALL BLACK TEXT: 100% black ( 0% Cyan, 0% Magenta, 0% Yellow, 100% Black ) should be used for small black text (12pt and smaller) and lines, this will result in crisp text and edges.
For Large Format Printing:
The resolution of your file needs to be 100-150 dpi, the bigger the size, the smaller the resolution, this is because the sign will be viewed from a further distance for larger signs. Also this will avoid giant file size.
For Print Products (Flyer/ Business Card/ Postcard/ Door Hanger) :
The resolution of your file needs to be 300 dpi. These products will be read from a close distance and the artwork needs to have higher resolution.
